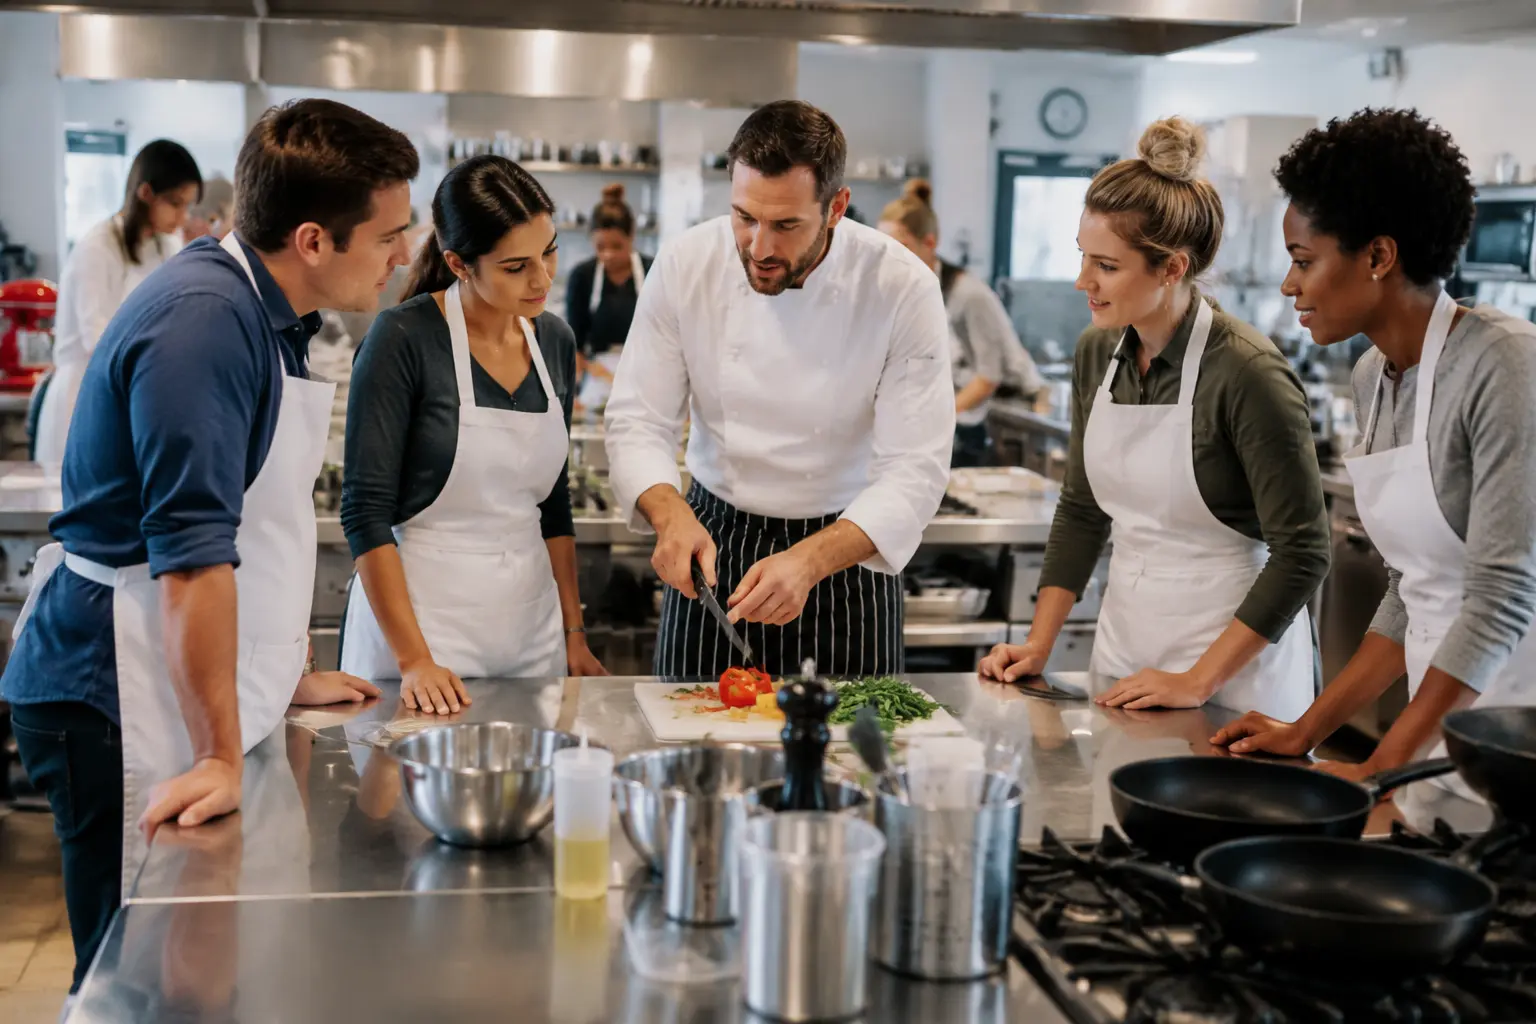
Your first cooking class is a structured, hands-on experience that builds real kitchen skills from scratch. No prior experience needed, and your chef instructor won’t assume you have any. In fact, most students walk in never having cooked a proper meal before, and they still keep up just fine.
Universally, the first day of any class is nerve-wracking, and a cooking class with sharp knives and open flames is no exception. That’s why we’ll walk you through class structure, kitchen etiquette, knife skills, and the techniques you’ll learn on day one. Hopefully, you’ll be prepared to handle whatever comes your way.
What Skill Level Do Cooking Classes Start At
Beginner cooking classes welcome people with no prior kitchen experience at all. You don’t need culinary training, a fancy knife set, or even confidence to join. Your chef sets the pace deliberately, starting with the most basic skills before anything more complex gets introduced.
Usually, beginner lessons start with learning about heat control, food preparation, and knife handling (yes, even if you burn toast).
And for the most part, the first session moves slowly and deliberately, so no one feels rushed or left behind. The instructor introduces every skill in order and never expects you to walk in knowing anything.
So what does a typical class look like once you’re in the room?
How a Beginner Cooking Class Is Structured
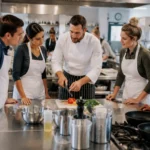
A beginner cooking class runs in three stages: a live demonstration, a hands-on cooking session, and a group tasting at the end.
From what we’ve seen, new students are always surprised by how quickly the 3 hours go by. Between the cooking, the tasting, and the conversation, there’s never a dull moment.
Each of those three stages looks like this in practice:
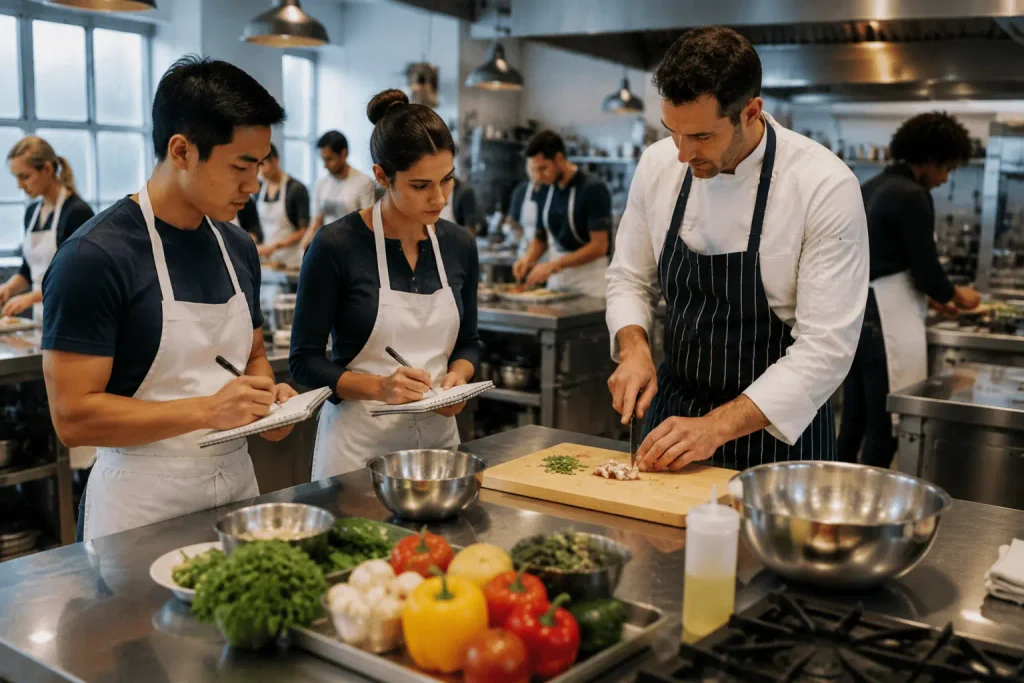
Step 1: Instructor-Led Demonstration
The chef instructor walks the group through the full recipe before anyone touches a pan. You watch, take notes, and get comfortable with the process before picking up a single tool.
Step 2: Hands-On Cooking
Students then recreate the dish step by step. The instructor stays close to correct technique and answer questions as each stage unfolds. Most sessions run 2 to 3 hours, with short breaks built in.
Step 3: Tasting and Feedback
Every class ends with the group tasting the finished dish together. The chef points out what worked and how to adjust flavour and seasoning when you make it at home.
By the time class ends, you’ve built enough muscle memory to walk into your own kitchen with confidence. The real reward comes later, when you cook the same dish for friends or family, and it turns out right.
Kitchen Etiquette Rules at a Cooking School
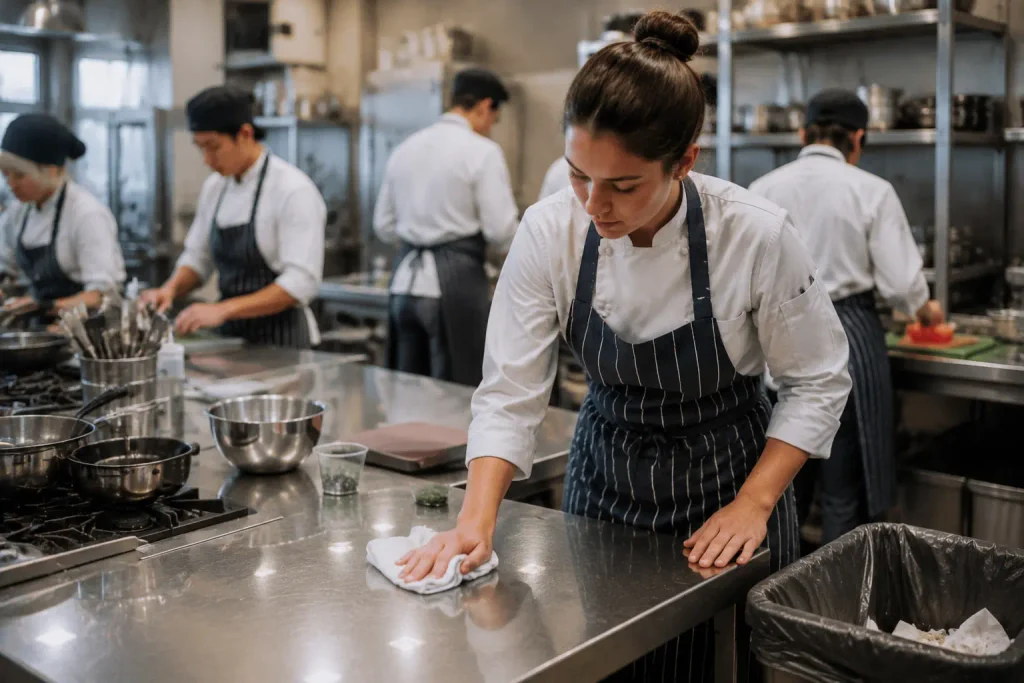
You might know this, but a cooking school kitchen operates under strict rules because everyone shares the same space and timeline. So every student is responsible for keeping the food safe, the station clean, and the group on pace.
Unlike cooking at home, every mistake in a cooking school kitchen affects the people around you. Poor hygiene, cross-contamination, and rushing ahead all have direct consequences on the food around you.
Keep Your Station Clean at All Times
Students clean their station between every cooking stage. Always remember, dirty surfaces slow the group down and make it harder to handle fresh ingredients safely. A disorganised station means losing track of prepped ingredients mid-recipe, and that throws off your timing and the quality of your finished dish.
Never Cross-Contaminate Your Ingredients
Raw proteins like chicken, beef, and fish must stay completely separate from prepped food (raw chicken near prepped food is a health risk).
Raw proteins like chicken, beef, and fish must stay completely separate from prepped food in any shared kitchen. In fact, food safety guidance from FSANZ confirms the need to use separate equipment or areas for raw and ready-to-eat foods.
One mistake at your station puts every other student’s dish at risk.
Respect the Group’s Pace
Every student follows the same recipe at the same time, and the chef instructor sets that pace deliberately.
Each stage builds directly on the one before it. Fall behind on the sauté step, for instance, and you’ll be underprepared when the sauce reduction starts. Good etiquette also keeps the class on track and the food tasting the way it should.
Now that etiquette is covered, the next thing to get familiar with is the tools and knife skills you’ll use in every class.
Knife Skills and Tools Used in Every Class
Most students expect to jump straight into cooking. Instead, the first chunk of class time goes entirely to knife work. The instructor demonstrates proper knife grip and blade control on real ingredients before anyone picks up a blade. And no, you won’t get handed a knife and left to figure it out alone.
Alongside the knife, every class puts three other tools in your hands: the sauté pan, stock pots, and oven trays.
- The Sauté Pan: This is where most savoury dishes begin. Students learn to control heat, manage oil, and layer flavour from aromatics like garlic and onions before anything else goes in.
- Stock Pots: Most beginners underestimate how much a stock pot teaches you. Beyond boiling water, it builds your understanding of simmering heat, liquid reduction, and deep flavour development in soups, stews, and braises.
- Oven Trays: Ask any chef what tool they rely on after the stovetop, and oven trays are never far behind. That’s because roasting at the right temperature caramelises the outside without drying the inside out.
The knife is the one tool that touches every dish, so getting it right first sets the tone for everything else. Once your grip and blade control are solid, every other tool in the kitchen becomes easier to handle.
The Culinary Arts Techniques Beginners Learn First
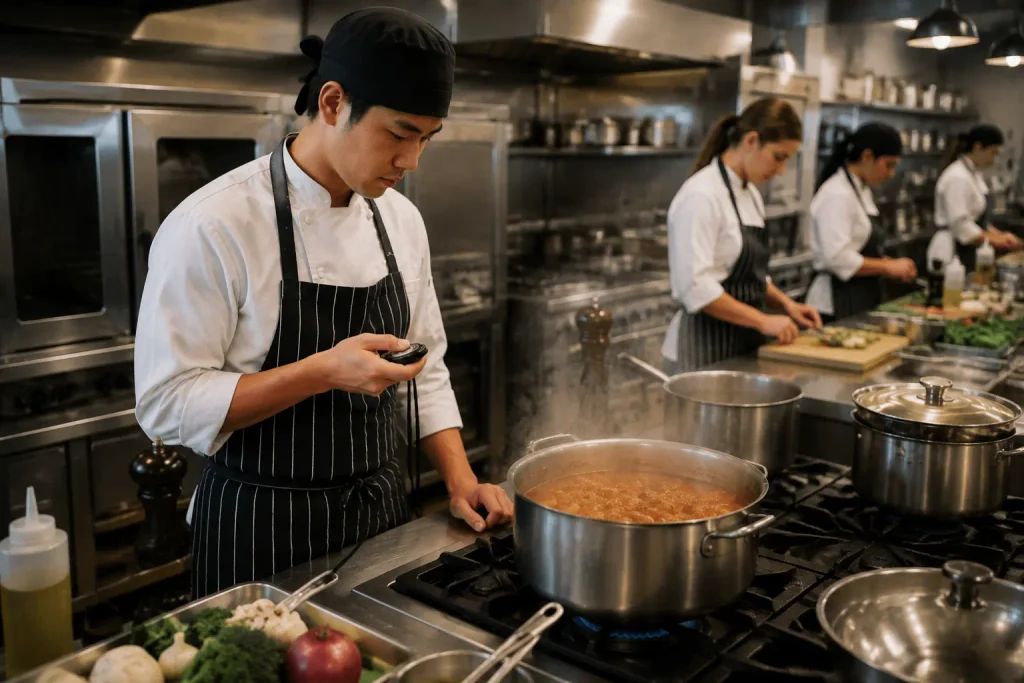
Alongside knife skills, every beginner class builds around four cooking techniques: sautéing, simmering, roasting, and boiling. Together, they cover pasta nights, weekend roasts, hearty soups, and everything in between.
Of the four, instructors typically teach sautéing first. You cook vegetables, proteins, and aromatics in a hot pan with oil or butter until the flavour builds up naturally (sautéing alone covers garlic, proteins, and sauces). Simmering slows everything down. You keep soups, stews, and sauces at a low, steady heat so the flavours develop slowly and the liquid thickens on its own.
With roasting, the heat source changes completely. High oven heat caramelises vegetables, meat, and fish on the outside while keeping them juicy inside. At Fiore, students who get roasting right in class go home and cook it again that same night.
Boiling ties it all together. Students use it for pasta, eggs, and stock, and it feeds directly into most dinner and brunch dishes covered in class. It’s also the easiest of the four to get comfortable with, and for most beginners, that’s the confidence boost they need heading into the next class.
Ready to Put on Your Apron?
A cooking class gives beginners a structured, supported environment to build real kitchen skills. Walking into your first cooking class feels intimidating, but you’ll never be left guessing what to do next or why you’re doing it.
This guide covered class structure, kitchen etiquette, and core knife skills. You also now know how sautéing, simmering, roasting, and boiling work in practice. Those four techniques alone cover rich sauces and dinner dishes you can serve to guests.
At Fiore Restaurant, our instructors walk every beginner through the same hands-on process. You leave each session with a recipe you tested, tasted, and can confidently recreate.
Simply put, that’s what we’re here for: come hungry, leave inspired.