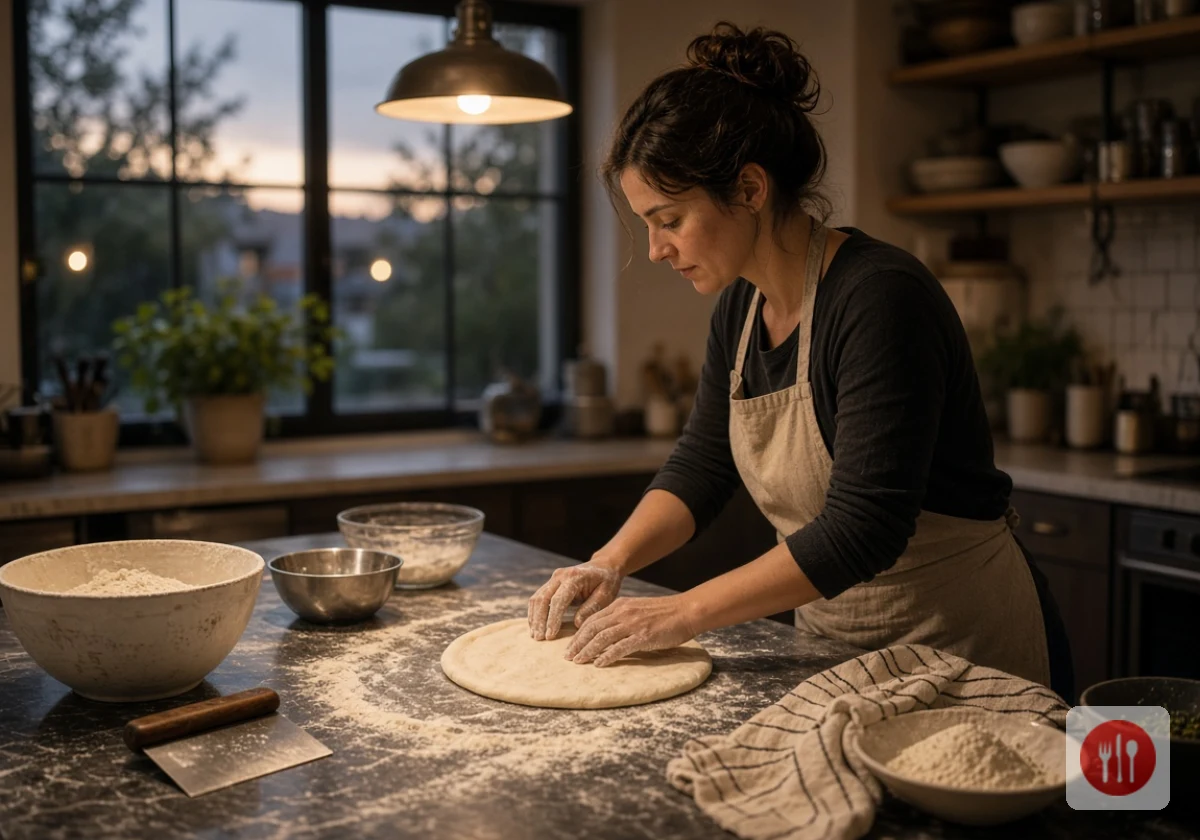
Your kitchen’s temperature sets how fast pizza dough proofs. The same recipe might rise in two hours on a warm afternoon but take five in a cool kitchen. Yeast works faster in heat and slower in cool air, so recipe timings are only a starting point.
That’s why so many home bakers end up with dough that’s puffy and sour or tight and dense. At Fiore Restaurant, we treat the dough itself as the timer and the kitchen as the dial that controls its speed.
This guide covers rising times at different temperatures, each proofing stage from mixing to the poke test, and how fridge proofing changes Neapolitan dough. Read on to spot the signs a warm kitchen has pushed things too far.
Pizza Dough Rising Time at Different Kitchen Temperatures
At a typical 70 to 75°F, room temperature pizza dough may take two to four hours to proof, depending on the recipe. Warmer rooms shorten that window, while cooler ones stretch it out. Yeast quantity and the dough’s starting temperature also affect the timing. Use the table below as a rough guide, then check the dough itself.
| Kitchen temperature | Estimated first rise for some same-day recipes | What to do |
|---|---|---|
| 64 to 68°F (cool) | 4 to 6 hours | Start earlier, or set the bowl in an oven with only the light on |
| 70 to 75°F (moderate) | 2 to 4 hours | Follow the recipe and check at the low end of the range |
| 78 to 85°F (warm) | 1 to 2 hours | Use cold water and check the dough every 30 minutes |
The warm room causes the most trouble because dough can pass its peak while you’re still slicing toppings. If your kitchen runs hot, an earlier check gives you time to catch the dough before it overproofs.
Proofing Pizza Dough at Home, From Bulk Fermentation to Final Proof
Proofing happens in two stages: bulk fermentation, when the whole batch rises together, and the final proof, when shaped balls rise again before baking. Each stage reacts to temperature, so small choices at the mixing bowl change how the dough behaves hours later.
Below, we’ve explained each step in the order you’ll meet it on pizza night.
Setting Your Pizza Dough Proofing Temperature With Water
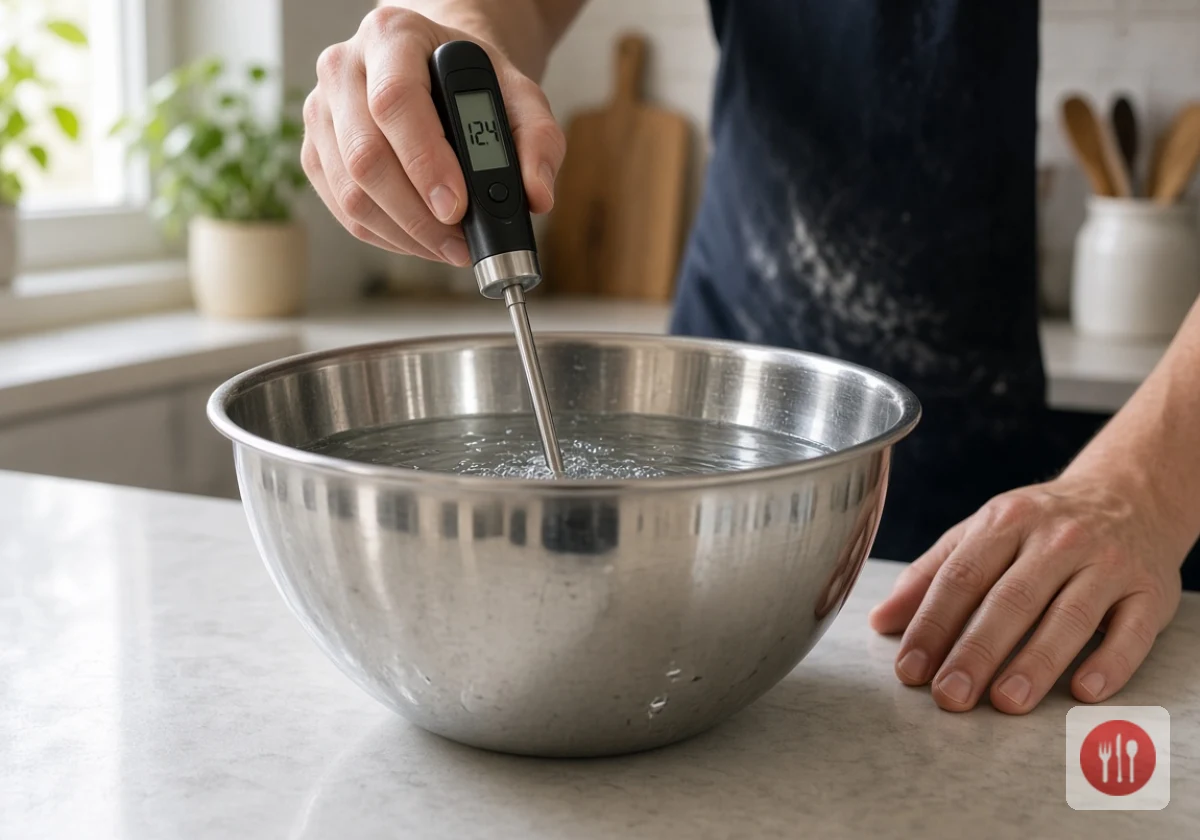
Water sets your dough’s starting temperature, which affects how quickly it rises. In a cool kitchen, 75 to 80°F water may be a useful starting point, unless your recipe specifies otherwise.
In a warm kitchen, switch to cool tap water instead. Cooler water gives the yeast a slower start and keeps the dough from racing ahead.
To get the water right, test it with a digital kitchen thermometer instead of your wrist (your skin can’t detect a few degrees’ difference). A two-second reading saves you an hour of guessing later.
Bulk Fermentation on the Kitchen Counter
Bulk fermentation is the first rise, when the whole batch sits together in one covered bowl. Yeast feeds on sugars in the flour and releases gas bubbles that stretch the gluten.
During this time, cover the bowl tightly with plastic wrap or a lid. Uncovered dough forms a dry skin that tears during shaping and bakes into tough spots.
Plus, a clear glass bowl with a rubber-banded starting level lets you see progress at a glance. You’ll see the dough climb without lifting the cover and losing warmth.
Dividing and Shaping Your Dough Balls
Once the dough reaches the rise your recipe calls for, turn it onto a lightly floured surface and divide it into equal pieces. A kitchen scale keeps every pizza the same size, so they all bake evenly.
From there, fold each piece under itself to form a tight, smooth ball. That surface tension traps gas and gives the crust a better lift in the oven.
We give shaping plenty of hands-on time in our Pizza e Formaggio weekend course, because a loose ball spreads flat. Make a few gentle tucks and stop once the top looks smooth.
Giving the Final Proof Enough Time to Rise
The final proof is the second rise, after shaping and before stretching. Set the balls on a floured tray, cover them, and allow 30 minutes to two hours.
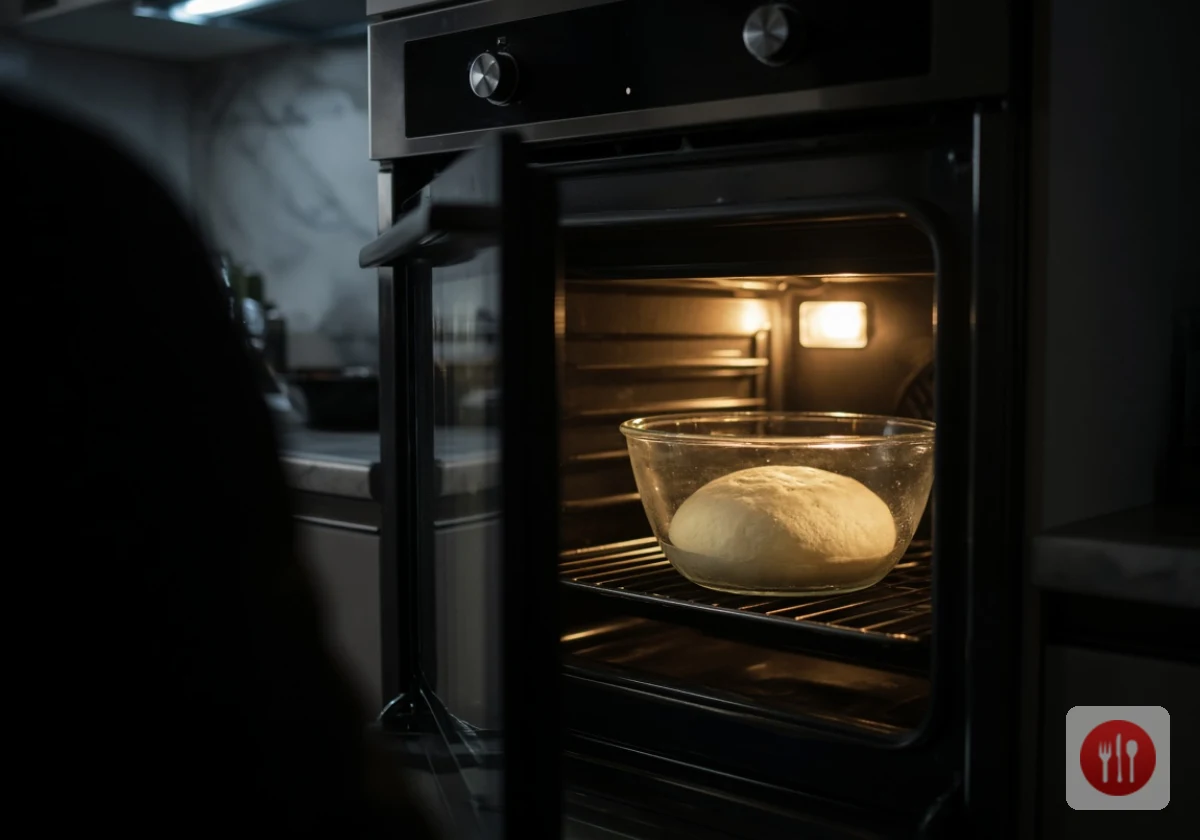
That range runs wide because a cool kitchen can double the time a warm one needs. If your home stays too cold, an oven with just the light on works as a simple proofing box.
Either way, space the balls a few inches apart so they don’t merge. Balls that touch tear when you separate them, which releases gas you waited hours to build.
When Is the Dough Ready? Try the Poke Test
The poke test offers one useful clue about dough readiness. A floured fingertip should leave a dent that returns slowly, with a slight indentation remaining. King Arthur Baking’s dough proofing guide explains why dough texture and elasticity are useful signs of readiness.
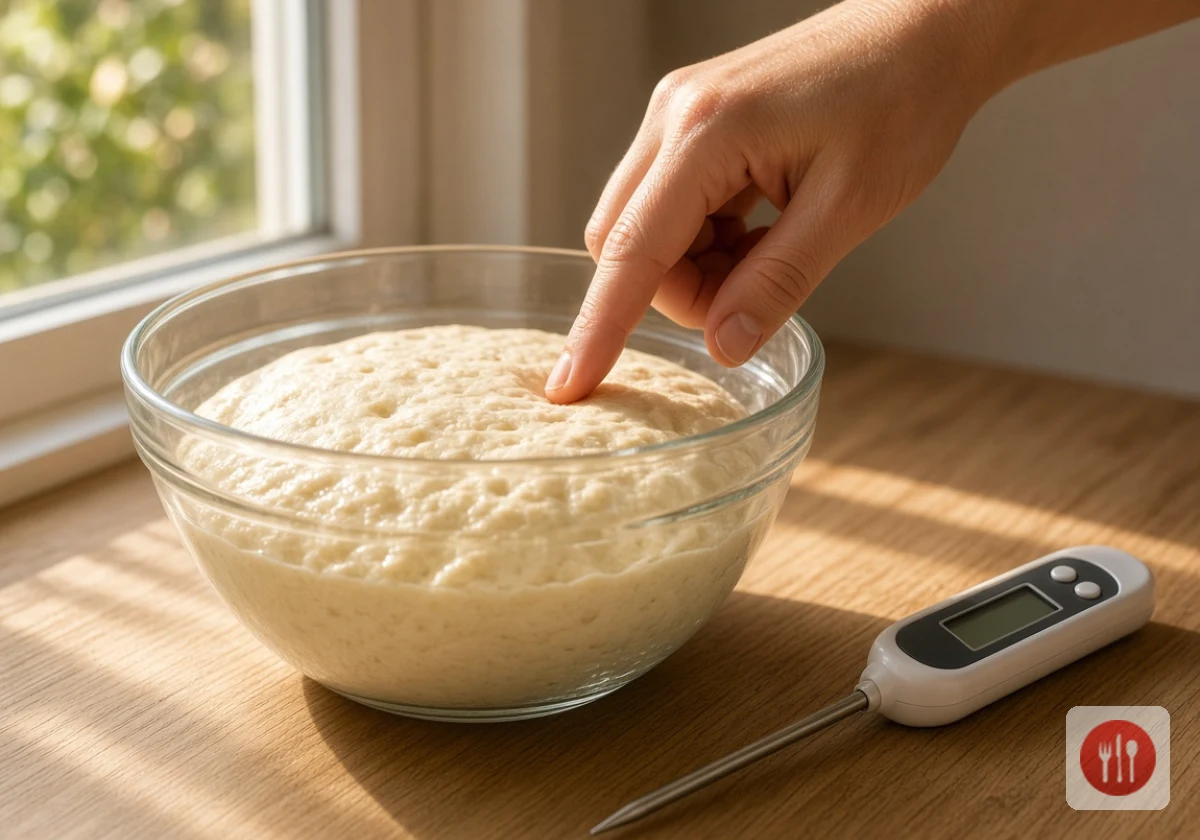
If the dent bounces back immediately, the dough probably needs more time. A dent that stays doesn’t automatically mean overproofing. Dough that feels fragile or collapses when touched is a stronger warning sign.
Since each poke leaves a mark, test the ball you plan to bake last (the toppings will hide the small dent). If it isn’t ready yet, give it another 15 minutes and test again.
A Cold Proof Treats Neapolitan Pizza Dough Differently Than Bread Dough
Once you’re comfortable judging dough on the counter, fridge proofing gives you another option. Chilling slows yeast activity, and ultimately it allows dough to ferment for a day or longer. For example, Ooni’s cold-proof pizza dough recipe recommends 24 to 72 hours in the fridge.
Neapolitan-style pizza dough often uses fine “00” flour and relatively little yeast, which suits a long fermentation. Bread recipes vary too, so the main difference is the recipe’s fermentation schedule. Many cold-proofed pizza doughs need time at room temperature before stretching.
If you’ve ever tried stretching a ball straight from the fridge, you know it shrinks back every time you pull. In our experience making pizza at Fiore Restaurant, a cold proof also frees up your schedule: mix Friday night, proof overnight, and bake Saturday evening.
If you’re interested in trying to proof in the fridge, start with the habits that make it work:
- Use a little less yeast, whether dry or fresh yeast, than a same-day recipe calls for.
- Store each ball in its own lidded container or lightly oiled bowl.
- Keep the fridge between 38 and 40°F for steady fermentation.
- Allow roughly two to three hours for warming, or follow your recipe’s timing. Some doughs need longer.
- Run the poke test once the balls feel soft and slightly puffy.
The warm-up is easy to overlook, especially when everyone’s hungry. Cold dough often resists stretching and springs back. A longer rest helps it relax, making the base easier to stretch without tearing.
Pizza Dough Overproofing Signs: What a Warm Kitchen Does to Your Pizza
Once your kitchen climbs into the high 70s, yeast can push dough past its peak before you notice. Overproofed dough may lose strength and struggle to hold its form. If you’re wondering whether your batch has gone too far, look for several signs together.
Collapsed Surface
A sinking or wrinkled top may suggest the dough has risen too far. A ball that also feels weak may benefit from a gentle reshape and short rest. Still, the result depends on how far fermentation has progressed.
Sharp, Boozy Smell
A strong alcoholic smell suggests fermentation has progressed considerably, but smell alone doesn’t prove overproofing. Check the dough’s structure before deciding what to do. Baking it soon is often the simplest option while the dough still feels workable.
Dent That Stays
A lasting dent isn’t always a problem. Ready dough may retain an indentation after the poke test. However, dough that collapses or feels fragile may have gone too far. Stretching may feel difficult at this stage, so gentle handling helps.
Large Surface Bubbles
Large bubbles can develop during normal fermentation, so they aren’t proof of overproofing on their own. Check for collapse or weakness too. You can gently press down any unusually large bubble that would interfere with the toppings.
A warm kitchen doesn’t mean the batch is lost. Cold water, a recipe-appropriate yeast quantity, and earlier checks give you more control next time. Even dough that’s risen a little too far may still make a decent pizza.
Let Your Kitchen Set the Pace for Your Next Pizza Night
A warm kitchen speeds up proofing, while a cool one gives the dough more time to rise. That’s why recipe timings work best as a guide. The dough’s texture and appearance help you judge when it’s ready.
Start by checking your kitchen’s temperature before you mix your next batch. Then choose a same-day rise or an overnight chill based on when you want to eat, and give yourself a little extra time on cooler days.
Ready to shape your own pizza with confidence? Contact Fiore Restaurant for hands-on guidance on dough, proofing, and baking, whether you’re baking your first pie or your fiftieth.